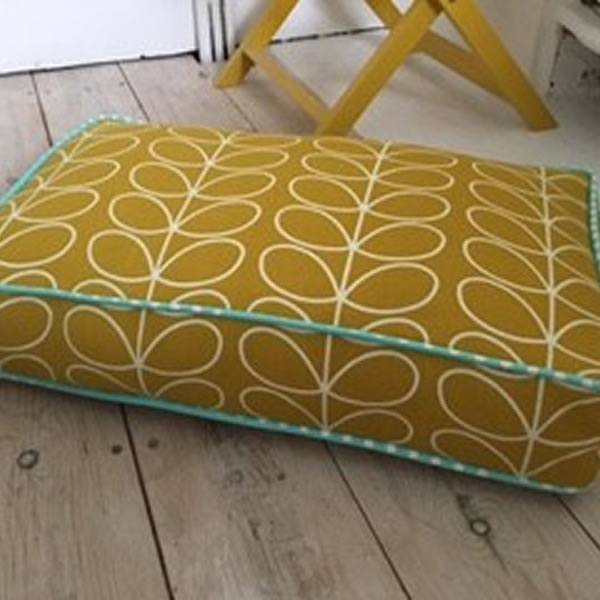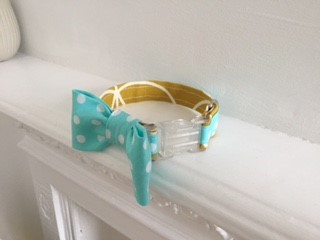
Most instructions for making a box cushion will say to apply the piping cord to the top and base of the cushion, in this workshop I offer an alternative method of applying the piping cord to the side box edges of the cushion first, and then stitching the top and base in place. This method, I believe, insures neat and sharper corners.

Includes homemade lunch and refreshments
About your Tutor
Amanda Walker was born in Cambridge in 1958. She attained a Diploma in Fashion and has worked in numerous fashion and design jobs; designing everything from men’s and women’s wear to handbags shoes and belts.For the past twenty-seven years Amanda’s design work has encompassed one-off wedding dresses, special occasion outfits, clothes for major toy brands such as Cindy Dolls and millinery. She has also taught a variety of college courses from design and garment making to soft furnishings.Amanda regularly contributes to magazines such as Homemaker and Crafts Beautiful and in 2006 was voted ‘Designer of the Year’ and runner up in 2007.
What you will need to bring
for the cushion:
- Printed fabric, the size of the cushion is your choice. You will need to buy enough fabric to cut out the top and base of the cushion plus the side box edging.
- Contrasting or matching fabric for the piping. You will need to cut 5cm wide bias strips, enough to make one continuous strip that will fit around the circumference of both the top and base of the cushion. Approximately half a meter should be sufficient.
- 22” Concealed zip
for the collar:
- Plastic side release buckle, size will be dependant on the size of your animal
- Sewing machine with a piping and zipper foot
- Matching thread
- Scissors and pins
