Two Day Course Saturday 30th and Sunday 31st July
All Dyeing Chemicals and Equipment Included

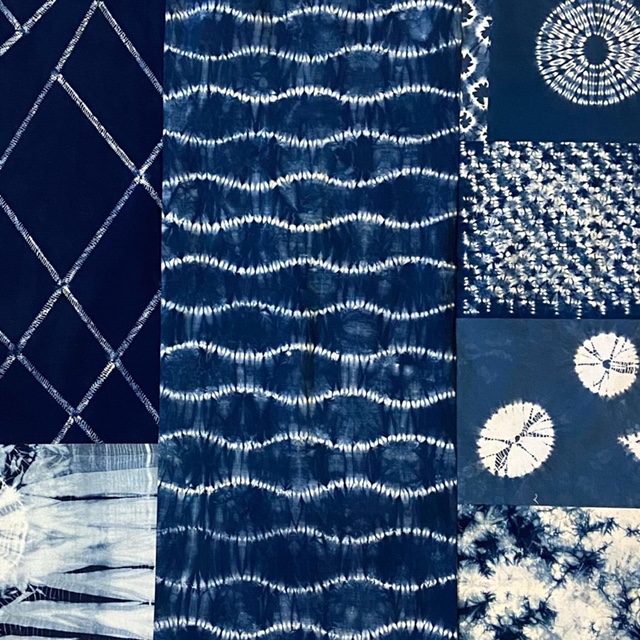
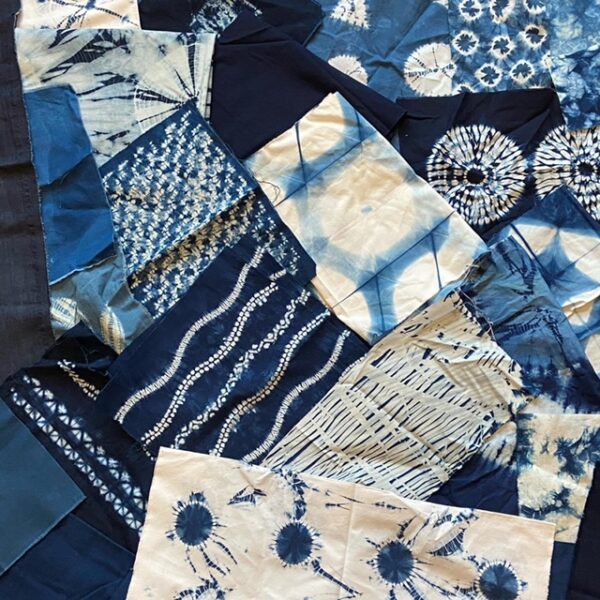
Over this weekend there will be four projects to give you a good grounding in Shibori with plenty of opportunity for experimentation. The skills and knowledge you learn will allow you to continue your practice afterwards.
Rob will also set up the indigo vats for you and explain how to maintain them. A vat can be kept going for years if you know how and have the right components to add to it.
Includes homemade lunch and refreshments both days
Day 1, Session 1 – Beginner’s stitching and binding
– The basic kamosage knot used to secure all bound work
– How to make the kanoko (fawn dots), kumo (spiderweb), bai (seashell), and ne maki (wrapped beads) patterns using binding
– The three basic stitches – nui (running stitch), ori nui (teeth stitch) and maki nui (twist stitch)
– Stitching knots – Quilters knot and Surgeons knot
– How to make larger patterns using variations of these stitching and binding methods
– Mokume (woodgrain) stitching
– Indigo dyeing – setup and maintenance
– How to dye your work in indigo
Day 1 Session 2 – Hishaki nui – stitch patterns on the fold
– Awase ori nui –working the double fold
– How to combine straight stitch and circle patterns
– Fold work with stitching and binding
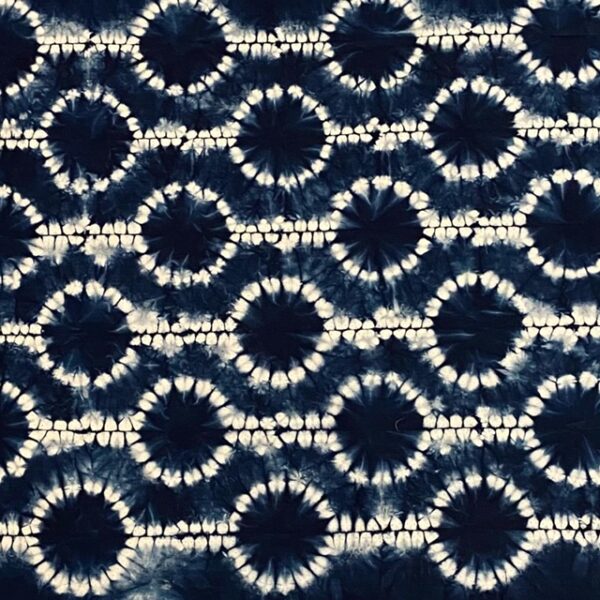
– How to sew the traditional Karamatsu (larch) pattern and how it can be applied to other shapes such as hexagons and hearts
– How to create motifs on the fold by combining the different shibori stitches
– How to make larger patterns using variations of these patterns
– Dyeing your pieces in indigo
Day 2 Session 3 – Makiage and Guntai shibori
– Creating simple makiage bound patterns with a stitched outline
– Double ring makiage circles
– Repeating patterns
– Guntai – side to side stitch and bind – basic motifs
– Guntai rings
– Combining makiage and guntai in together for pattern variation
– Dyeing your pieces in indigo
Day 2 Session 4 – Itajime Shibori, kaleidoscopic patterns:
– “Kikko folding” – How to press fabric into parcels for clamp resist dyeing:
– Square folding
– Right angle folding
– Equilateral triangle folding
– Alternative folding with square fabric
– Using stitching to create kaleidoscopic patterns
– Free clamping and board clamped techniques using a range of shaped boards and clamps
– Board shifting to vary pattern
– Dyeing your pieces in indigo
What you will need to bring
Fabric
Two metres of white shirting or quilting cotton and Two metres of fine cotton lawn per person.
NOTE: New fabric contains a preserving chemical and will have to be washed (with detergent, NO fabric conditioner) and dried and ironed prior to the class.
or bring PFD (prepared for dyeing) or Scoured fabrics that do not contain any chems.
You are welcome to bring other fabric to work with. Indigo works best on plant fibres, so cotton, linen, bamboo and mixes all work well.
A spool of 60s weight bonded nylon upholstery thread in a dark colour, as they shown up better.
Long darning needles (These need to be a thin needle and it is better to get a slightly shorter
needle than a thick one).
Leather needles (required for the Itajime class)
A pair of small sharp scissors
Dressmaking scissors for cutting larger pieces of fabric.
Rulers and soluble fabric marker pen.
Rubber gloves (Marigolds or similar)
Apron
Notepad and pen / camera to record work.
OPTIONAL (but useful) – Thimble and Needle threader
Students are advised to wear an apron for dyeing and old clothes. Indigo
will stain if it gets splashed on you or your clothes
